Welcome back friends! This time on the Stamp Review Crew we are featuring the
Bubble Over stamp set. It lots of coordinating product too, so there are lots of options! It was just St. Patrick's day here, and it seems to be an excuse to party, go on pub crawls, and drink green beer. Sounds like fun, right?! Except for the green beer. I do not like beer, especially any that they would put green food coloring in, lol.
This is the set we are playing with. I love it for masculine stuff.
For those who are new to the Stamp Review Crew, here is a little
background. We are an international group of Stampin' Up! demonstrators
that gets together on the first and third Mondays of every month to do a
blog hop. Each hop features a single stamp set to give you loads of
inspiration for that set! The hops are archived at the
Stamp Review Crew blog,
and you will be able to click through each hop at any time, going
directly to the posts for that hop whenever you want! And you can click
on the banner of this post to go to the
master blog roll for this hop also.
If you are following along in order, you just arrived from
Lou Kitzelman blog. I can't wait to see what she comes up with!
First up, I had to use the DIY wreath building technique. I created my own jig for this a few weeks ago, and I just can't stop using it!
The jig was created by taking 2 pieces of 6"x 6" cardstock, drawing straight lines with a ruler from corner to corner and from side to side in half.
Then I used a 4" square die to cut a square, then rotate the square so the points are aiming at the sides instead of the corners, and die cut again.
I had to do this on each 6"x6" square, then glue them together to give them a little more depth to hold my cardstock pieces.
You need a MISTI or Stamparutus or some other stamp positioning tool, but it is slick as snot! (That is pretty slick, by the way)
ETA: Gina K Designs has a Wreath Builder kit that came out this month, which is where I got the idea. Check out her video here: https://youtu.be/LRWUI0XuSJM
I used a rainbow of colors and was trying to create something that was not related to booze. Not everyone drinks, alcohol or carbonated beverages.
THIS one is all about the booze though, lol! I even snuck some green beer in there. I should have put a clover on it, darn it! Why couldn't I have thought of that 30 minutes ago.
Some stamping off, and a
terrible job lining up the star, but oh well. Maybe
I had some green beer while I was stamping this!
Now let's head back to Australia and
Kelly Kent! She is one clever lass!
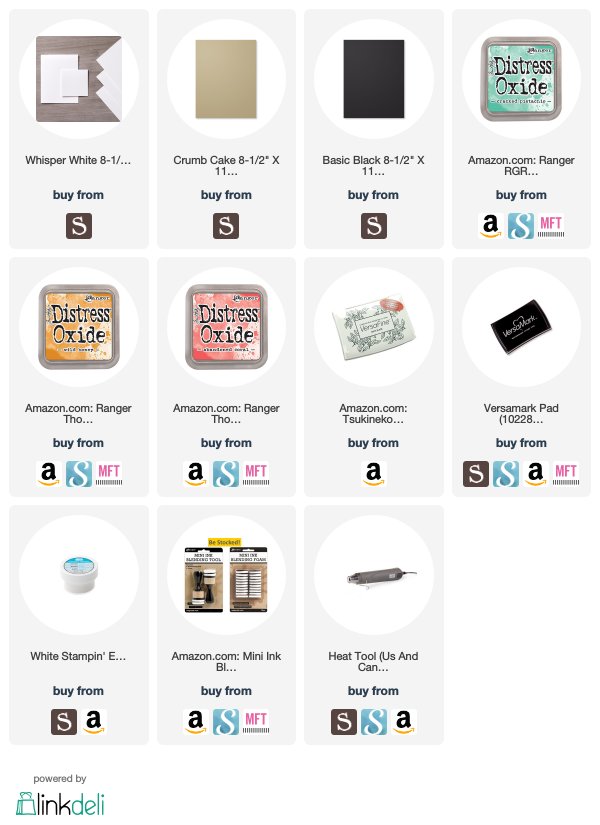
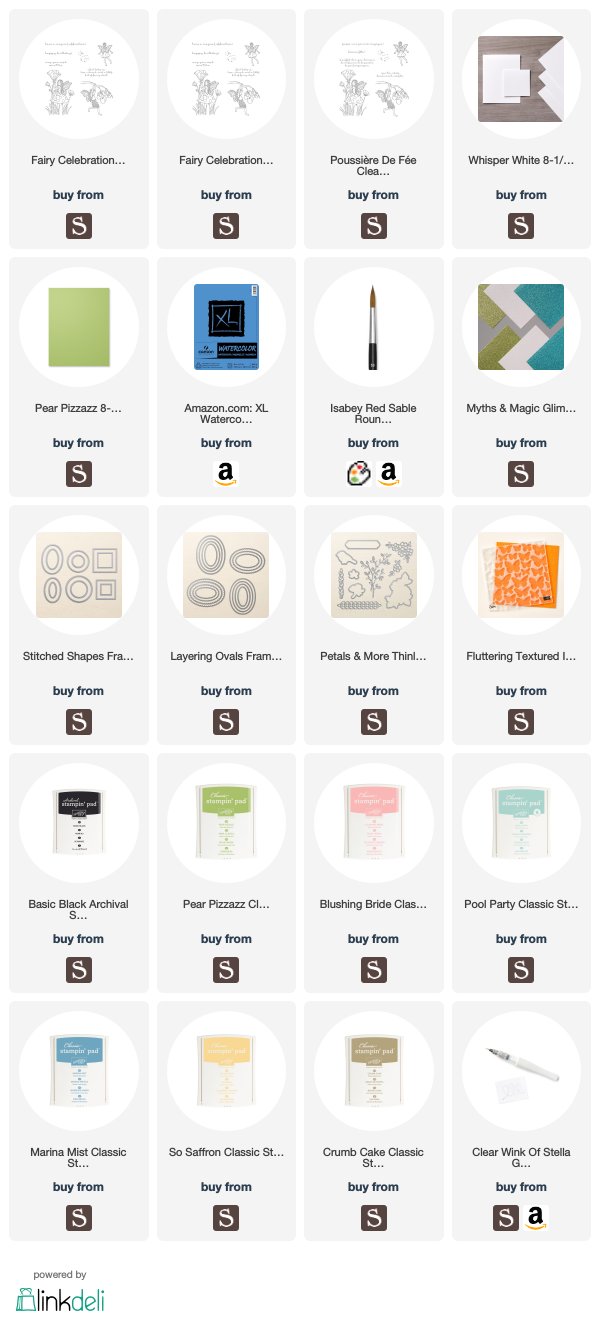
If you have seen something you need for your crafting
life, just click the image in the supply list below and it will take you
to my store! If you order less than $150, please use this month's Host Code, which can be found at the top of the sidebar on the right.
And be sure to check the box allowing me to contact you when you
check out. I can't send you a thank you card if I don't know your
address! And I promise to only send you happy mail, no junk mail :)